2. After opening the programme, I clicked New, and typed in the measurements of the front cover. I worked out by measuring, that the inside booklet of a normal CD cover is 119 mm by 119, so to create a booklet, i had to include the folded back page, leading to a page 238mm by 119mm, and then divided the page in half.

3. I then used the Fill Tool to make the background layer black, and opened the image i was going to use in a different window.
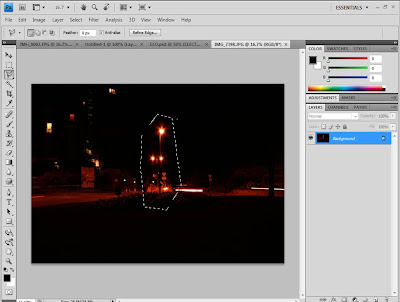
4. Using the Polygonal Lasso Tool, i cut round the part of the image i wanted roughly. I was able to do this roughly as the image has a black background itself, so would blend in well with my background.
5. I then Cut and Paste the image into my CD front cover cover, sclaing and rotating it until i was happy with its positioning.
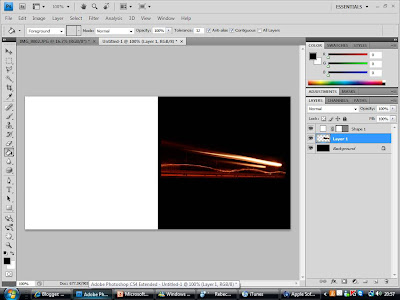
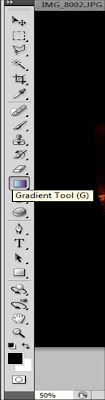
6. Using the Gradient Tool, I made the edges fade into the background, to create a more cenral and smoother image.
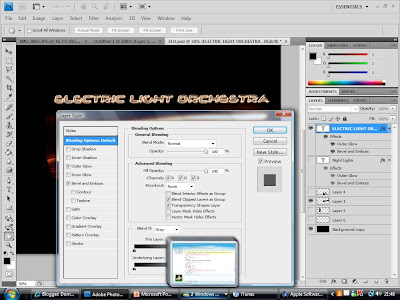
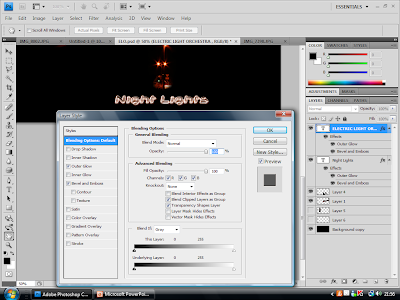
7. I then used the Horizontal Type Tool to create the band name text at the top of the page. I selected an appropriate font which went well with the theme of lights, as it had a neon look to it. I then edited the font by adding particular Effects, such as Bevel and Emboss to make the text stand out more, and Outer Glow, which gives the text a simular glow to the lights in the main image.
8. Next i decided to add another image, as I felt that the cover was possibly too simple. So refering to the photos i took, i found an image which i felt would make an appropriate logo image. I open the image up in a new window again and cut around it, using the Polygonal Lasso Tool. Again this could be rough, as the image also had a black background.
8. Next i decided to add another image, as I felt that the cover was possibly too simple. So refering to the photos i took, i found an image which i felt would make an appropriate logo image. I open the image up in a new window again and cut around it, using the Polygonal Lasso Tool. Again this could be rough, as the image also had a black background.
9. I then Cut and Paste the image on to my CD cover, scaling and positioning it so that it was central and a good distance from the other image. I then used the Gradient Tool again to smoothen the edges so that it blended in well with the background.
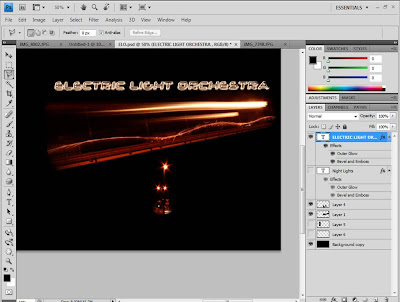
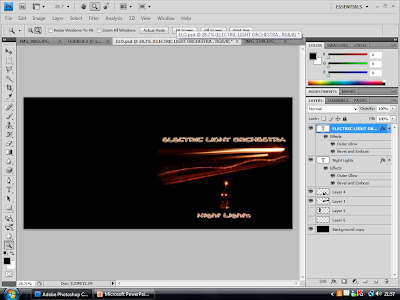
10. Using the same font and effects as the band name, i created the text for the album title, "Night Lights" Which i positioned underneath both images centrally.
11. I then focused on the back of the booklet, which would be the left half of the opened case. I started by using the Fill Tool and giving it also a black background.
12. I then Copied and Pasted the logo image, Resized it, and placed the copy in the center of the back cover. I also inserted a short bit of text, which simply has a brief number on it in small print, to add to the realism of the product by appearing to be some sort of product code.


No comments:
Post a Comment